How to Use the Solar Flare Alert - Green Version
Assembling the Device
- Here are all the components of the device:
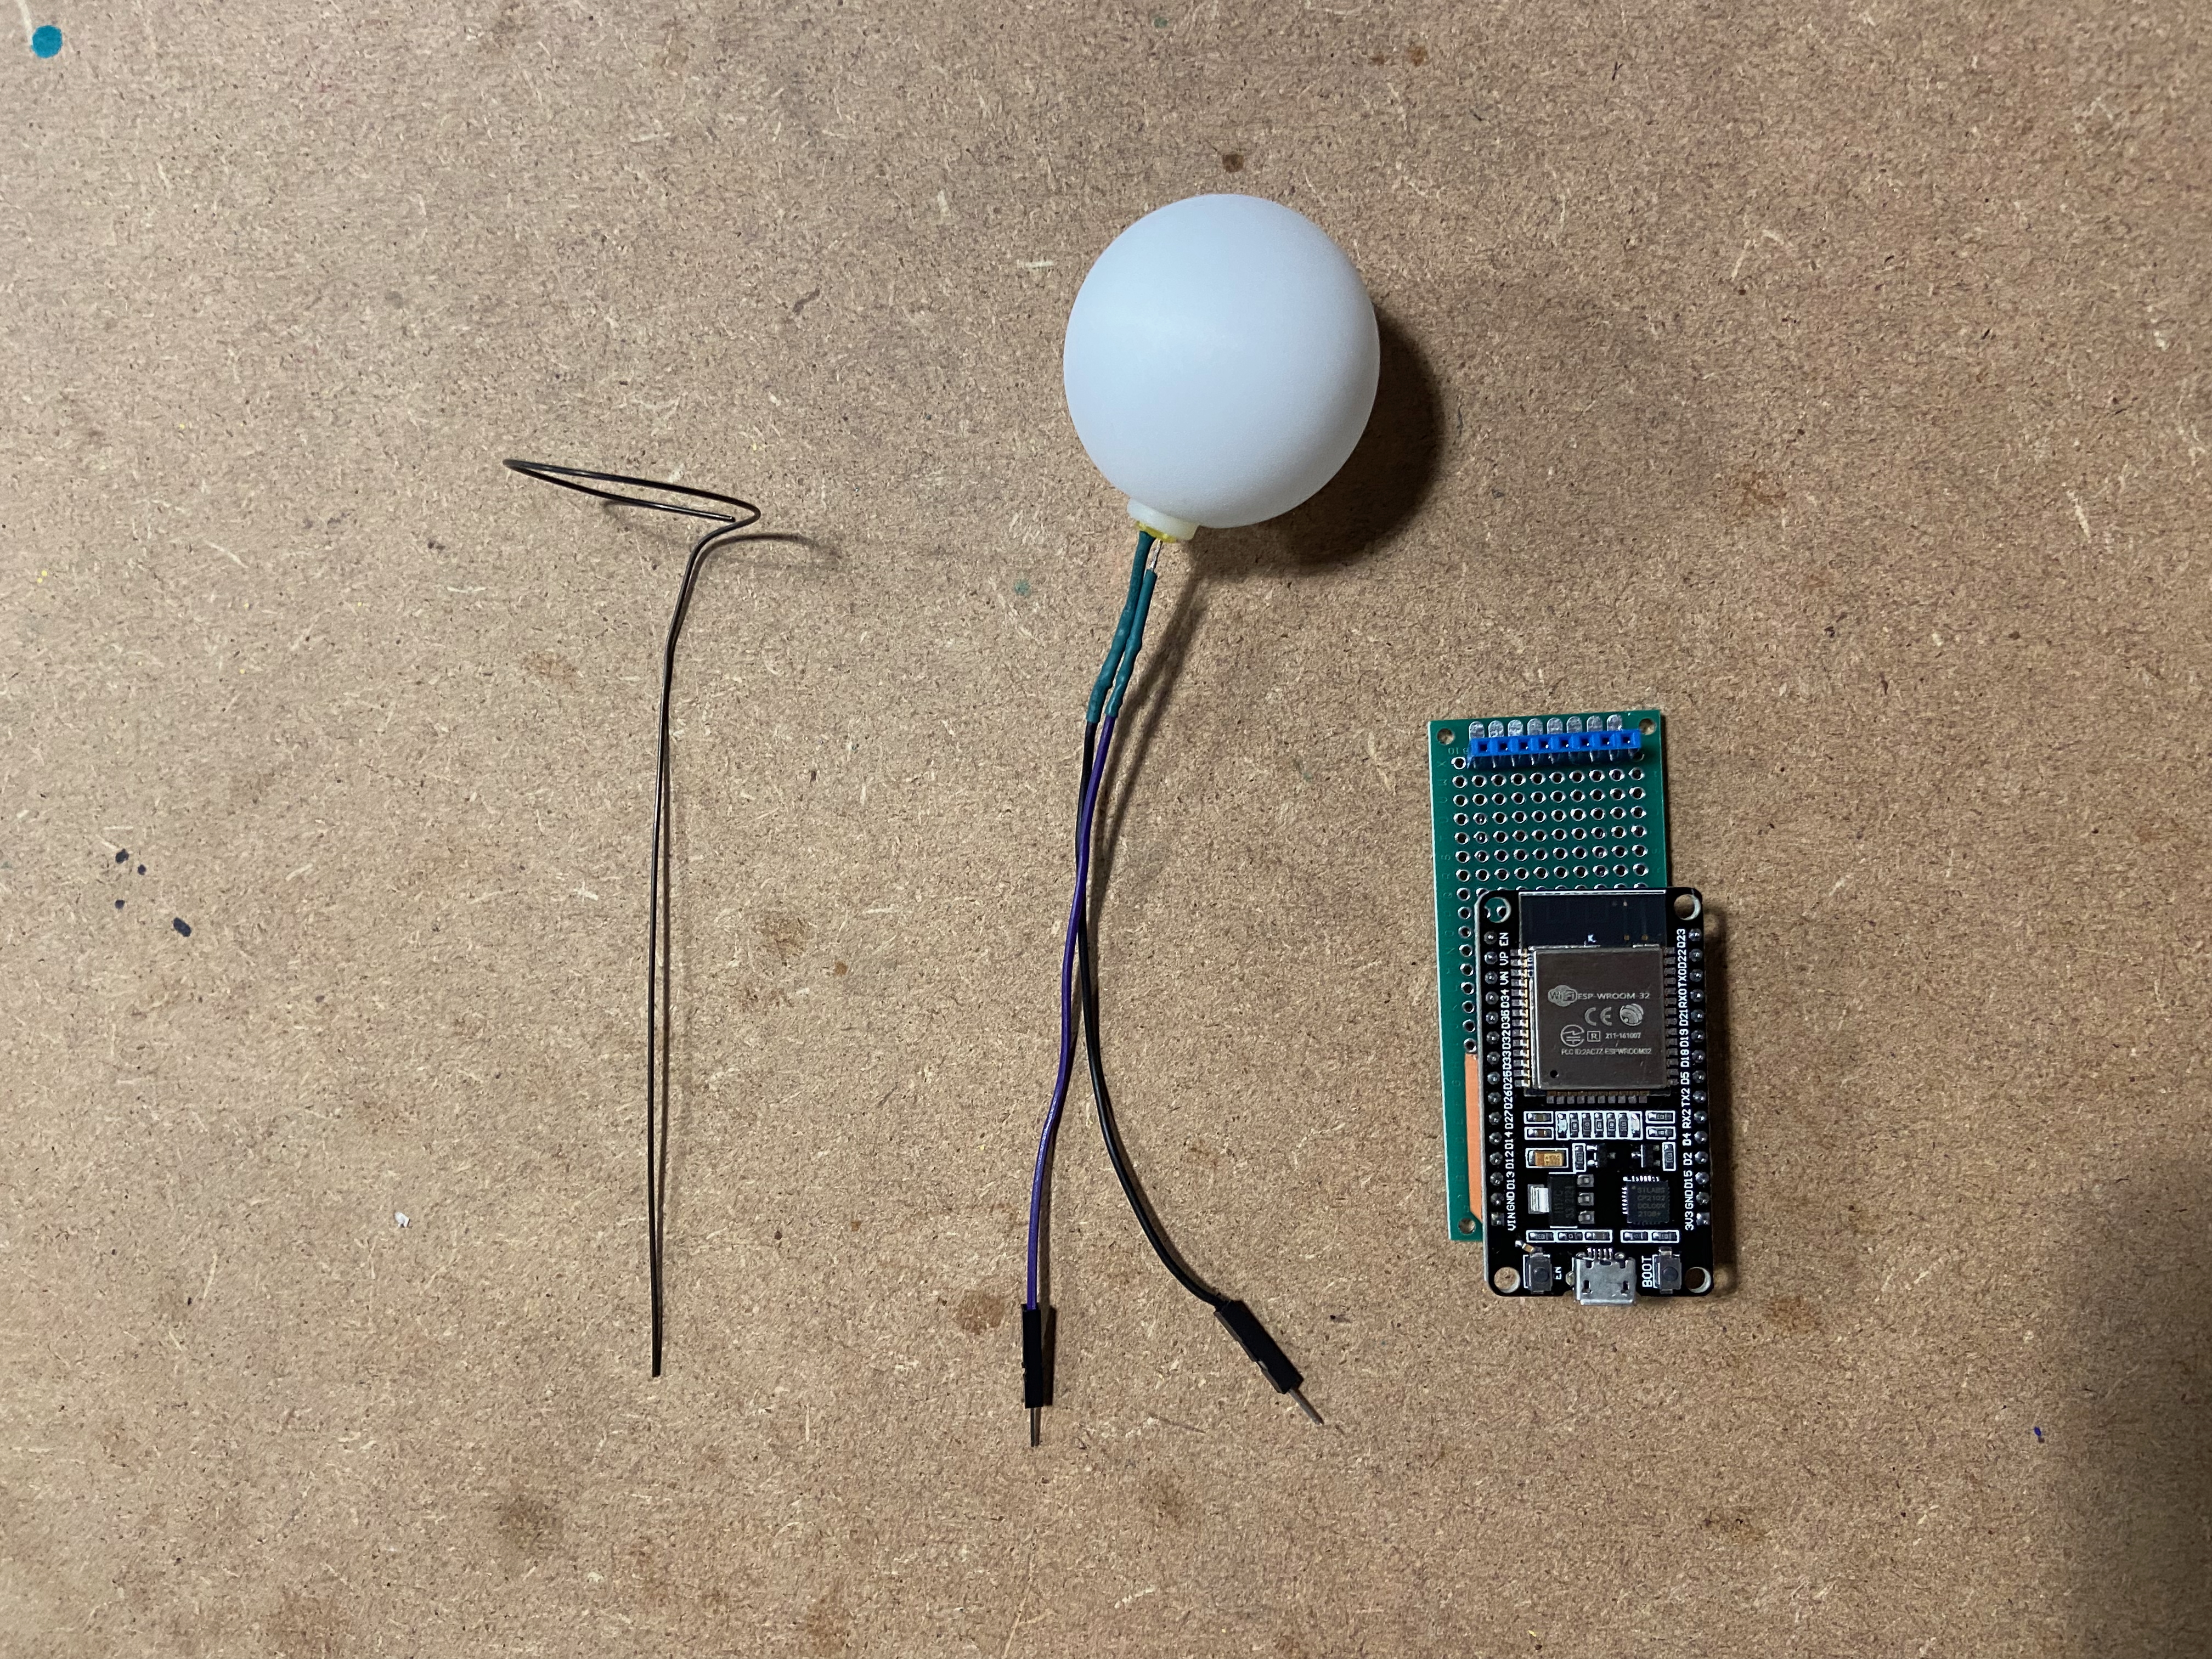
1. Insert the wire ring in the center of the socket strip and insert the LED into the ping-pong ball.
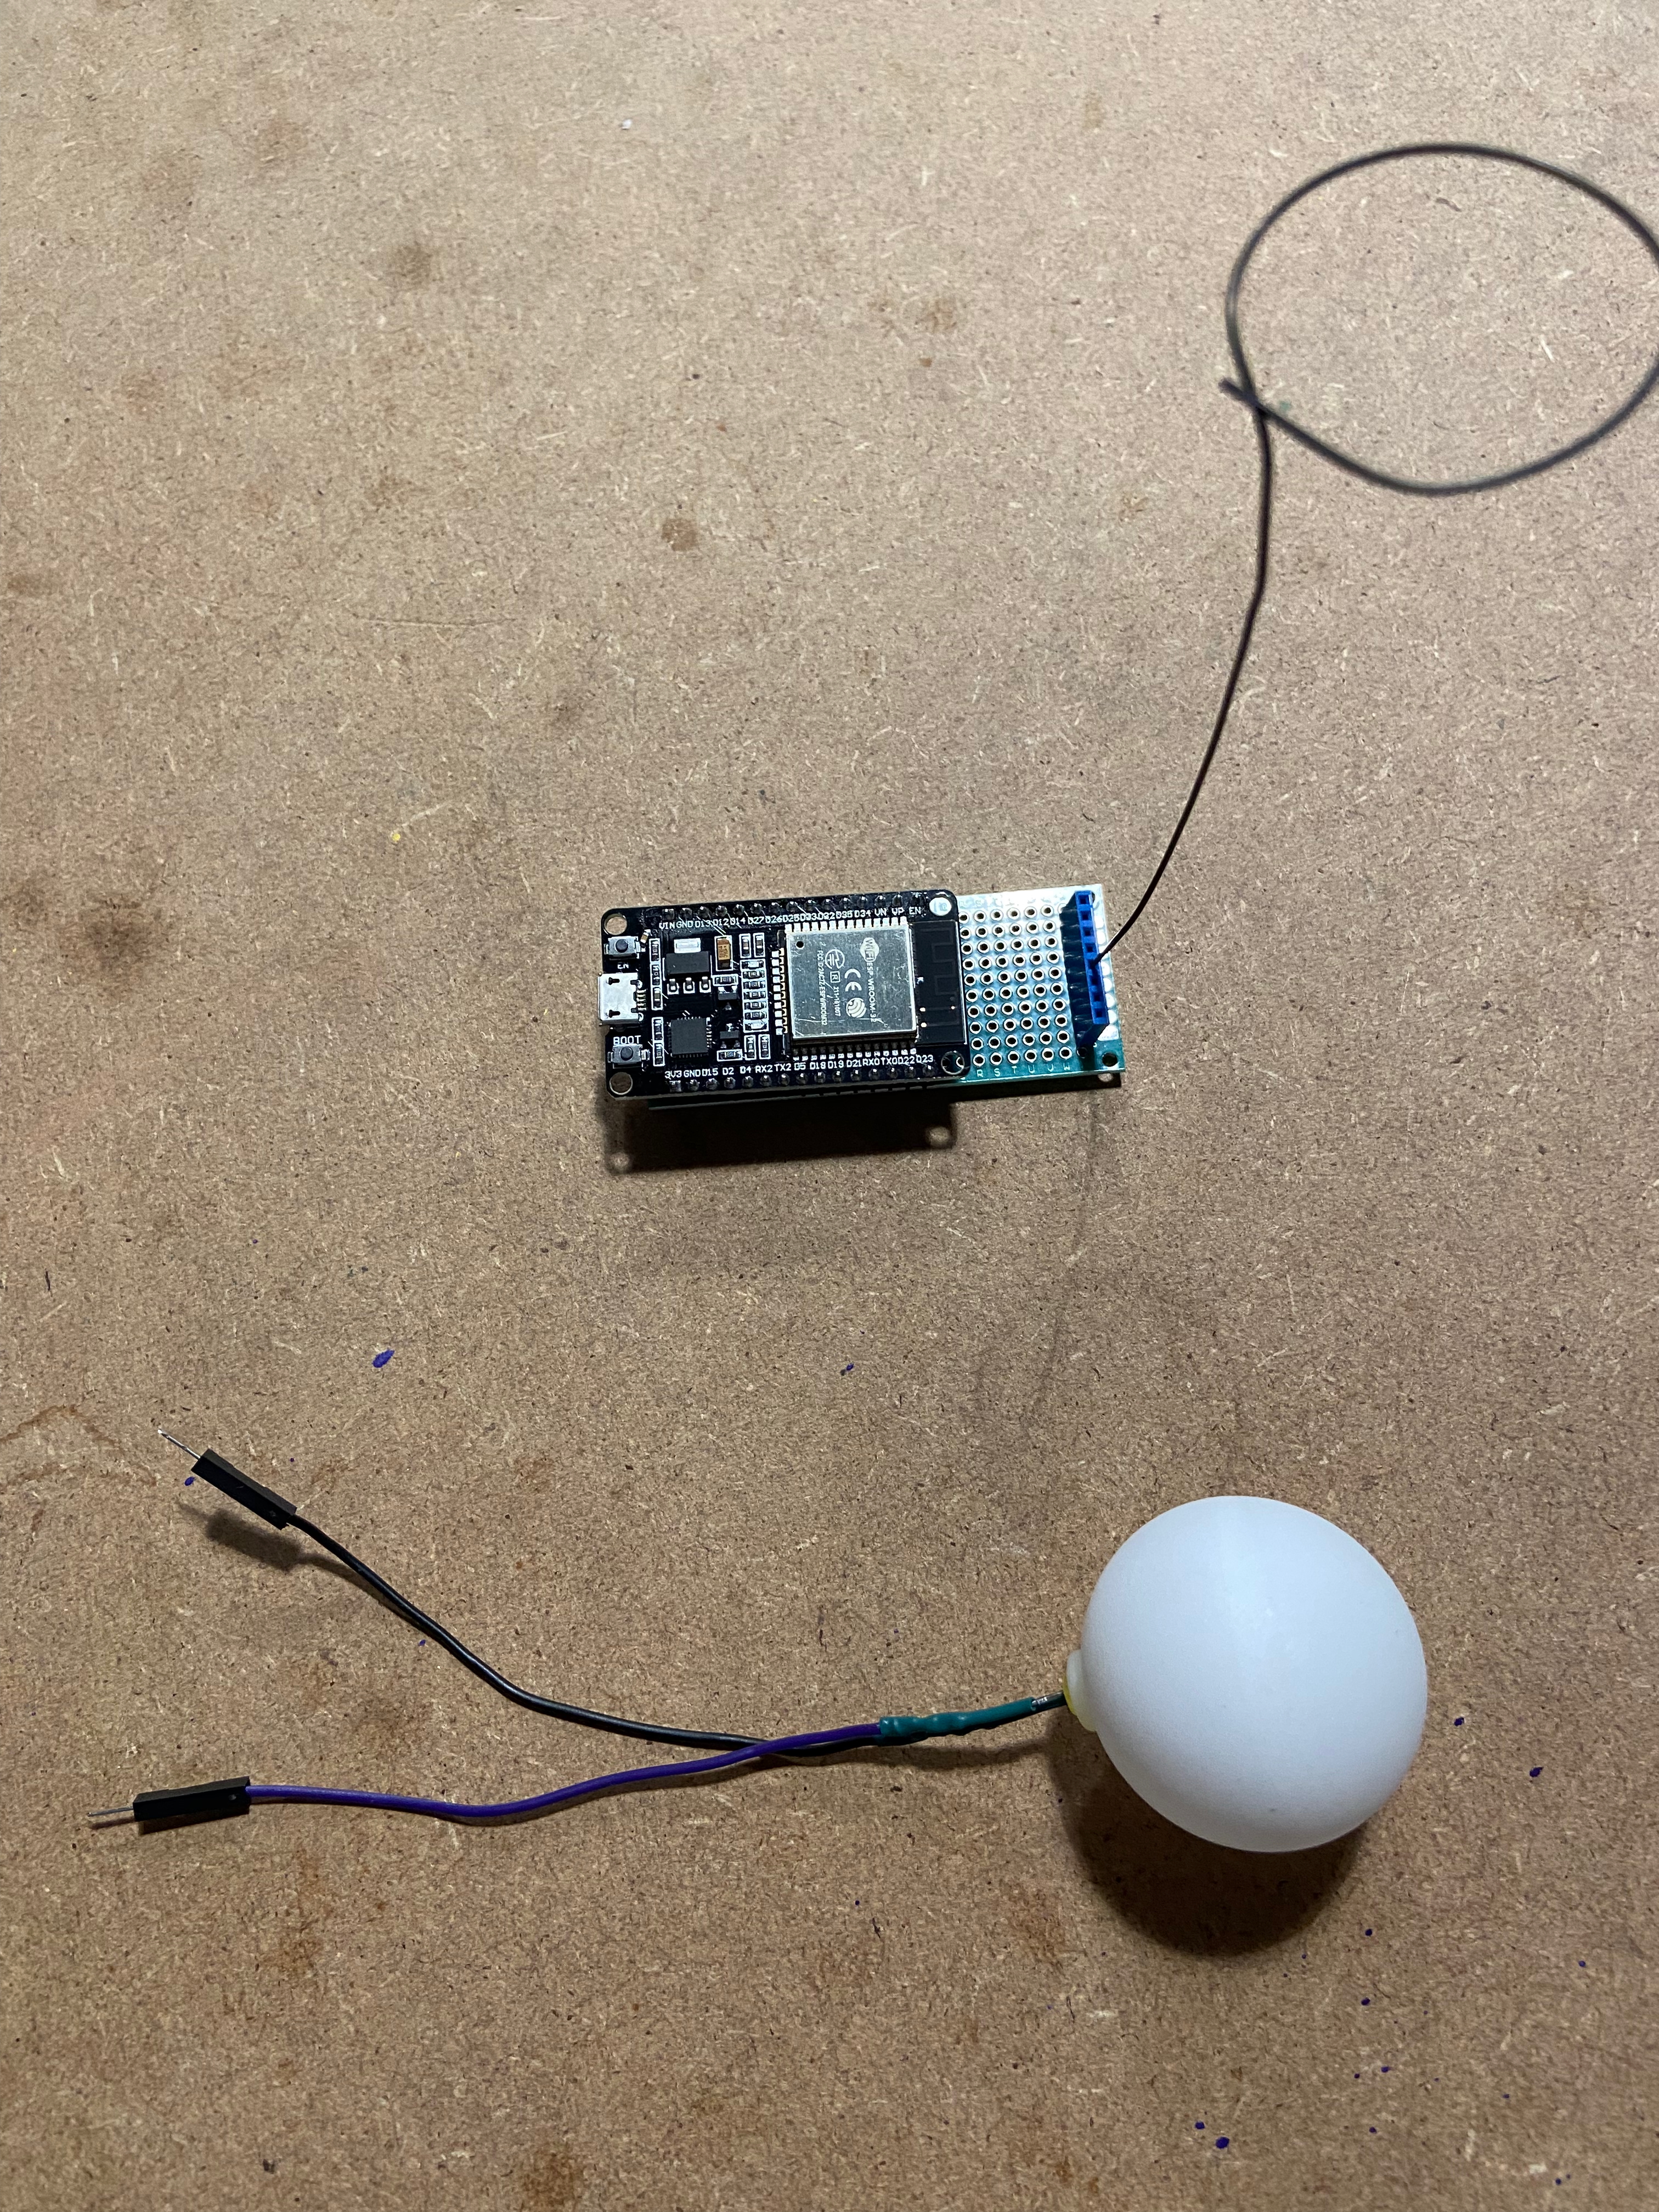
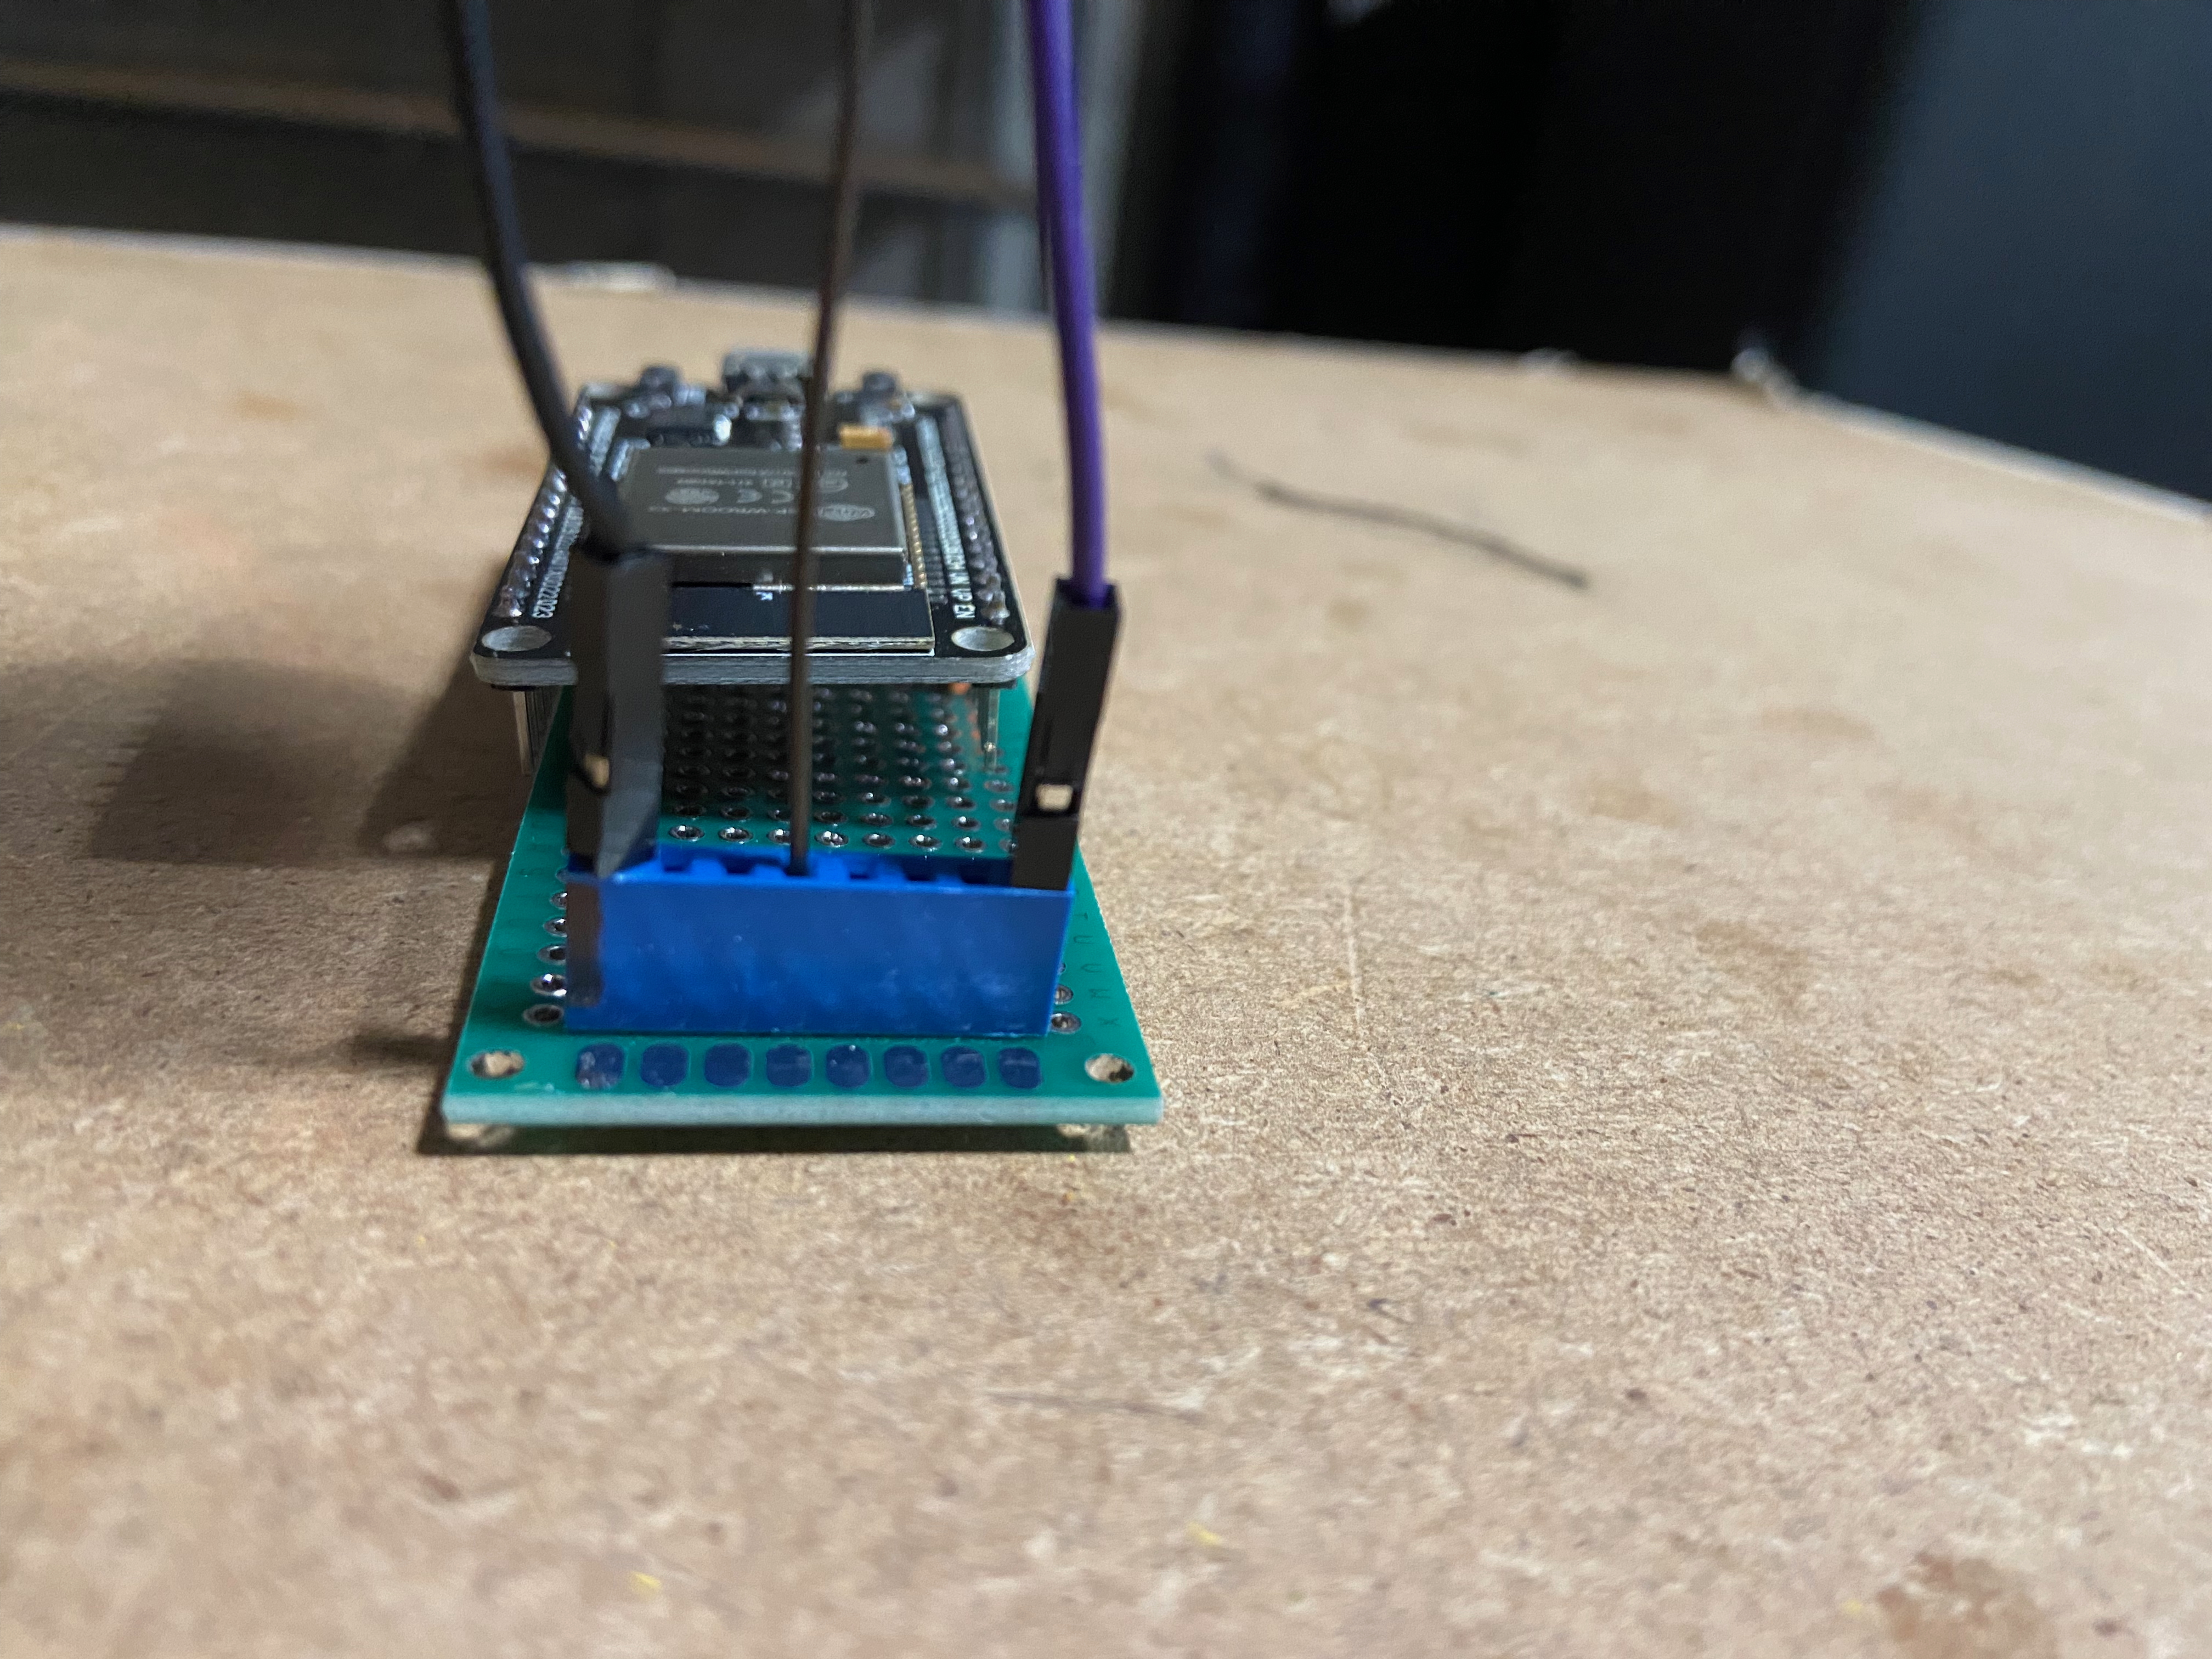
Plug the cables into the outer plugs of the socket strip. Ensure the black cable is on the left side when viewed from the perspective of the ESP32.
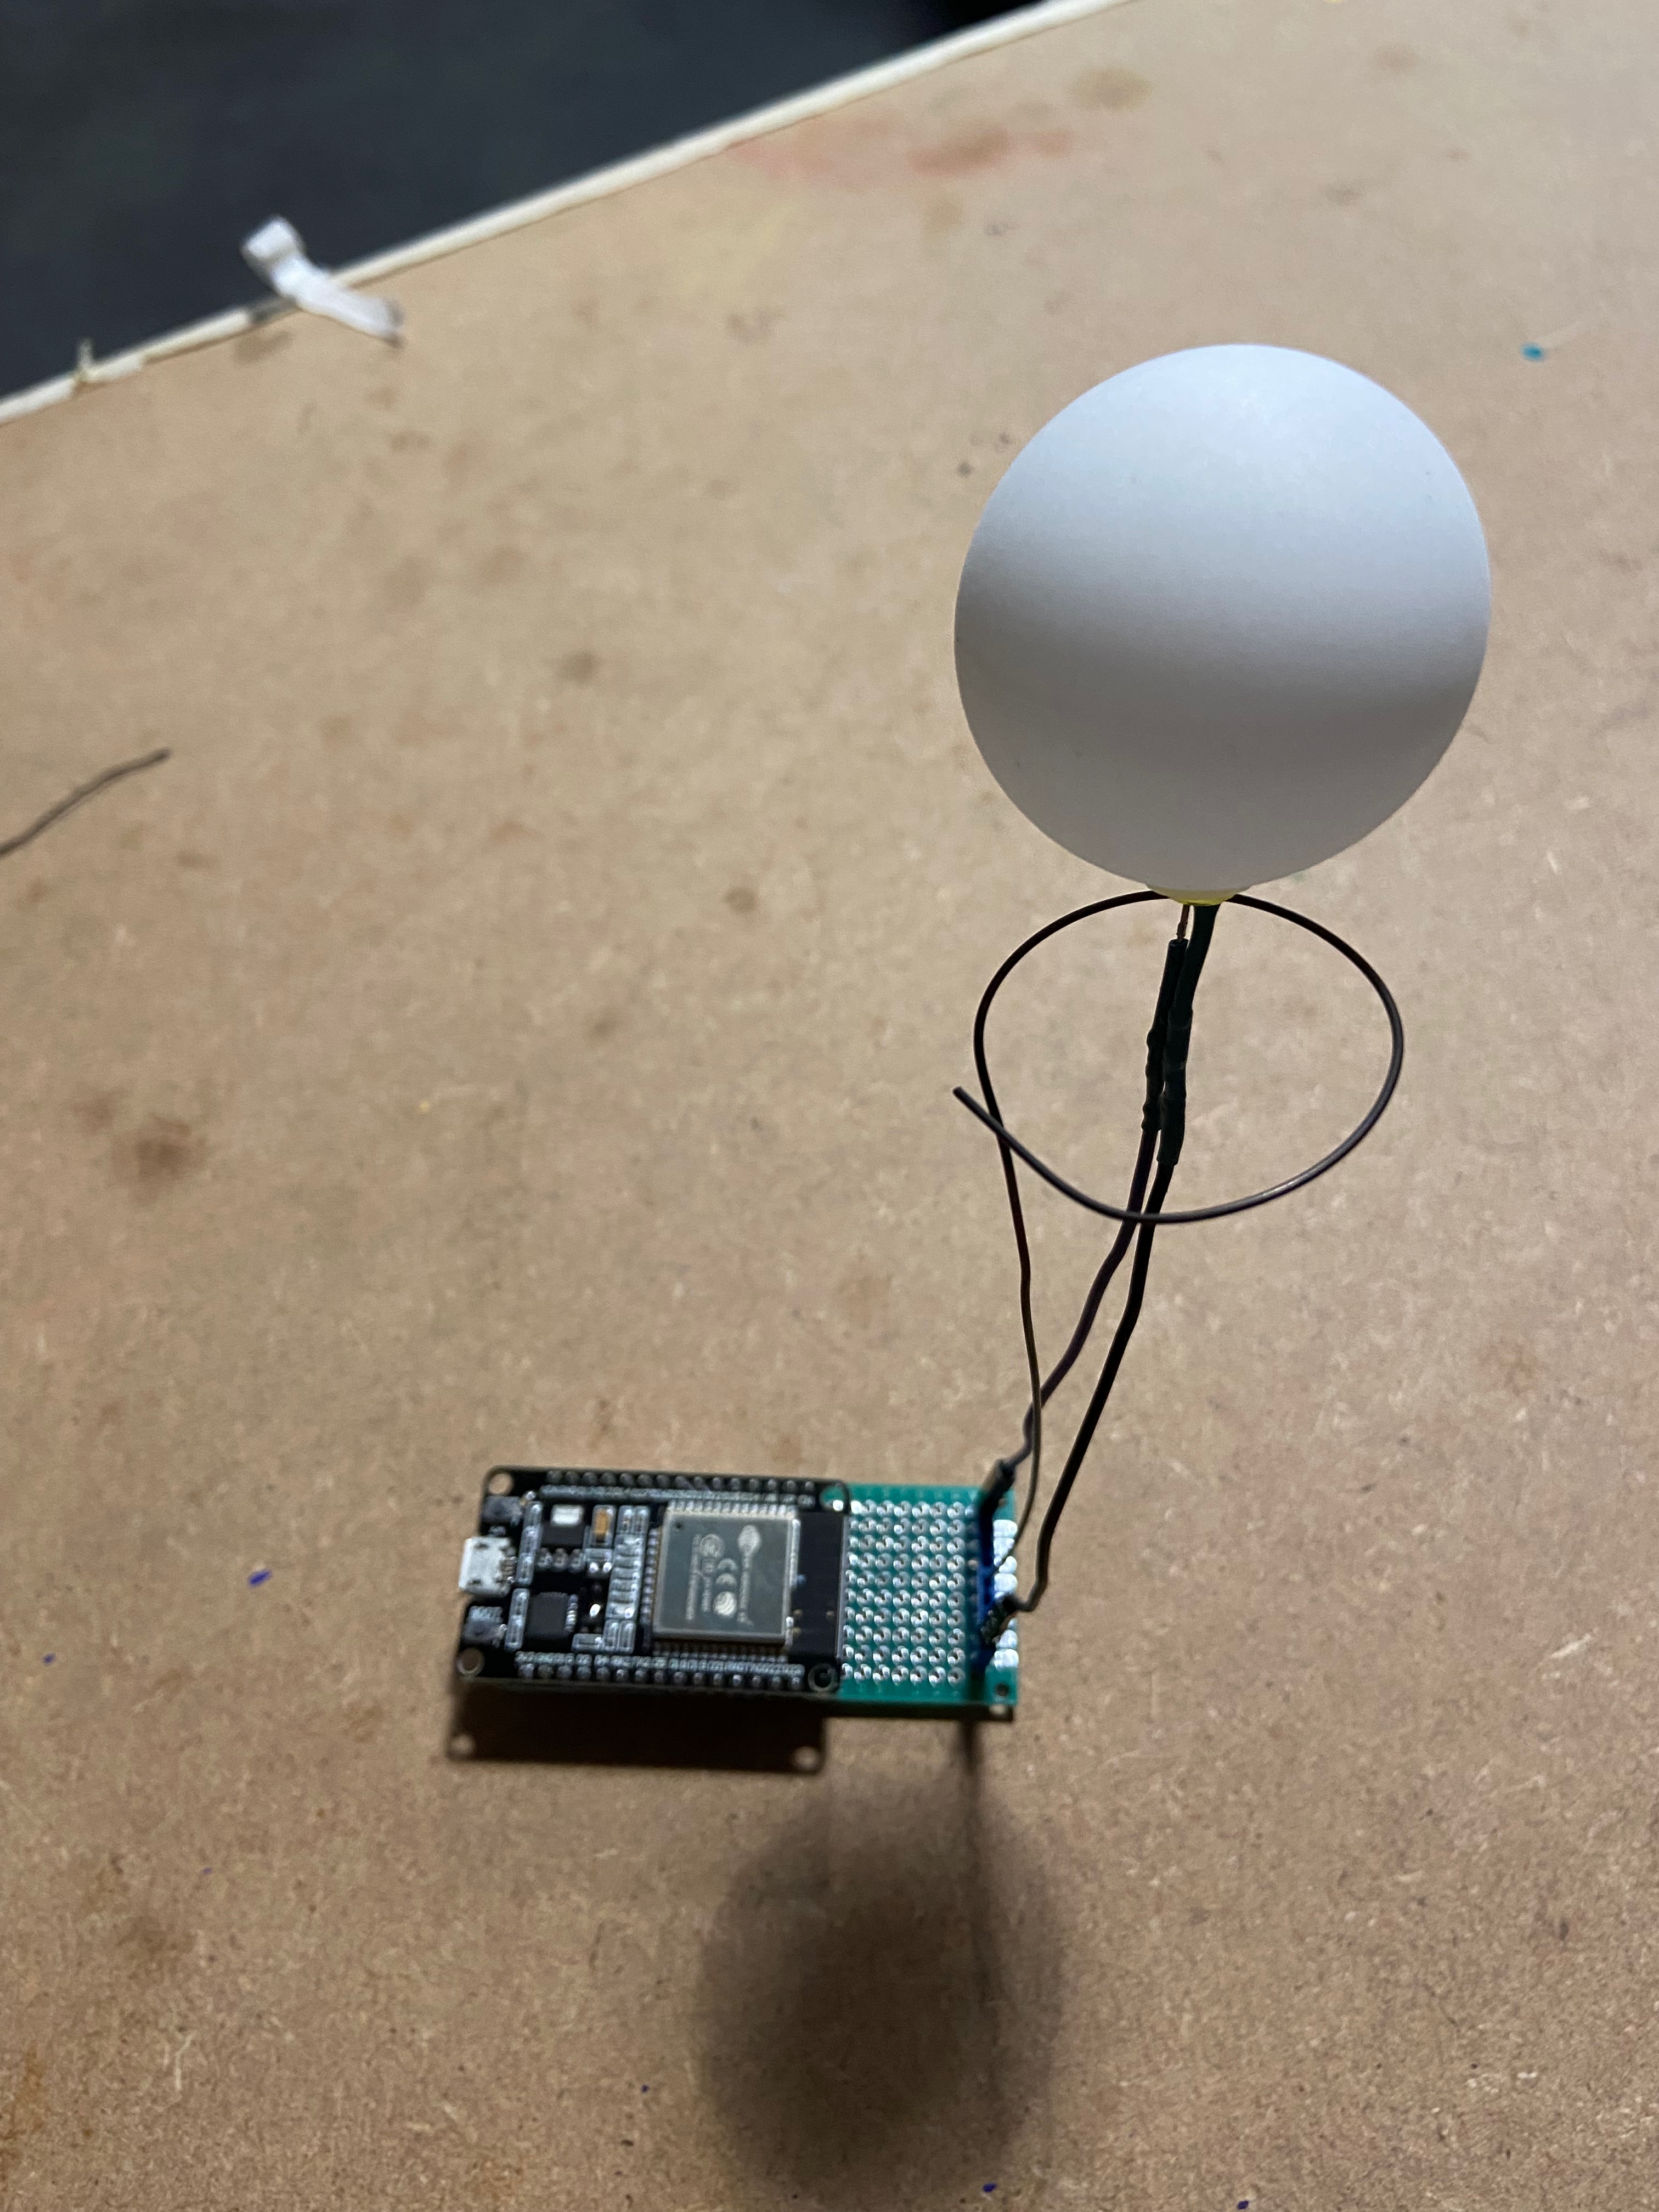
Make sure the black cable goes to the left side, marked with a black marker
Plug in the USB cable to power the device.
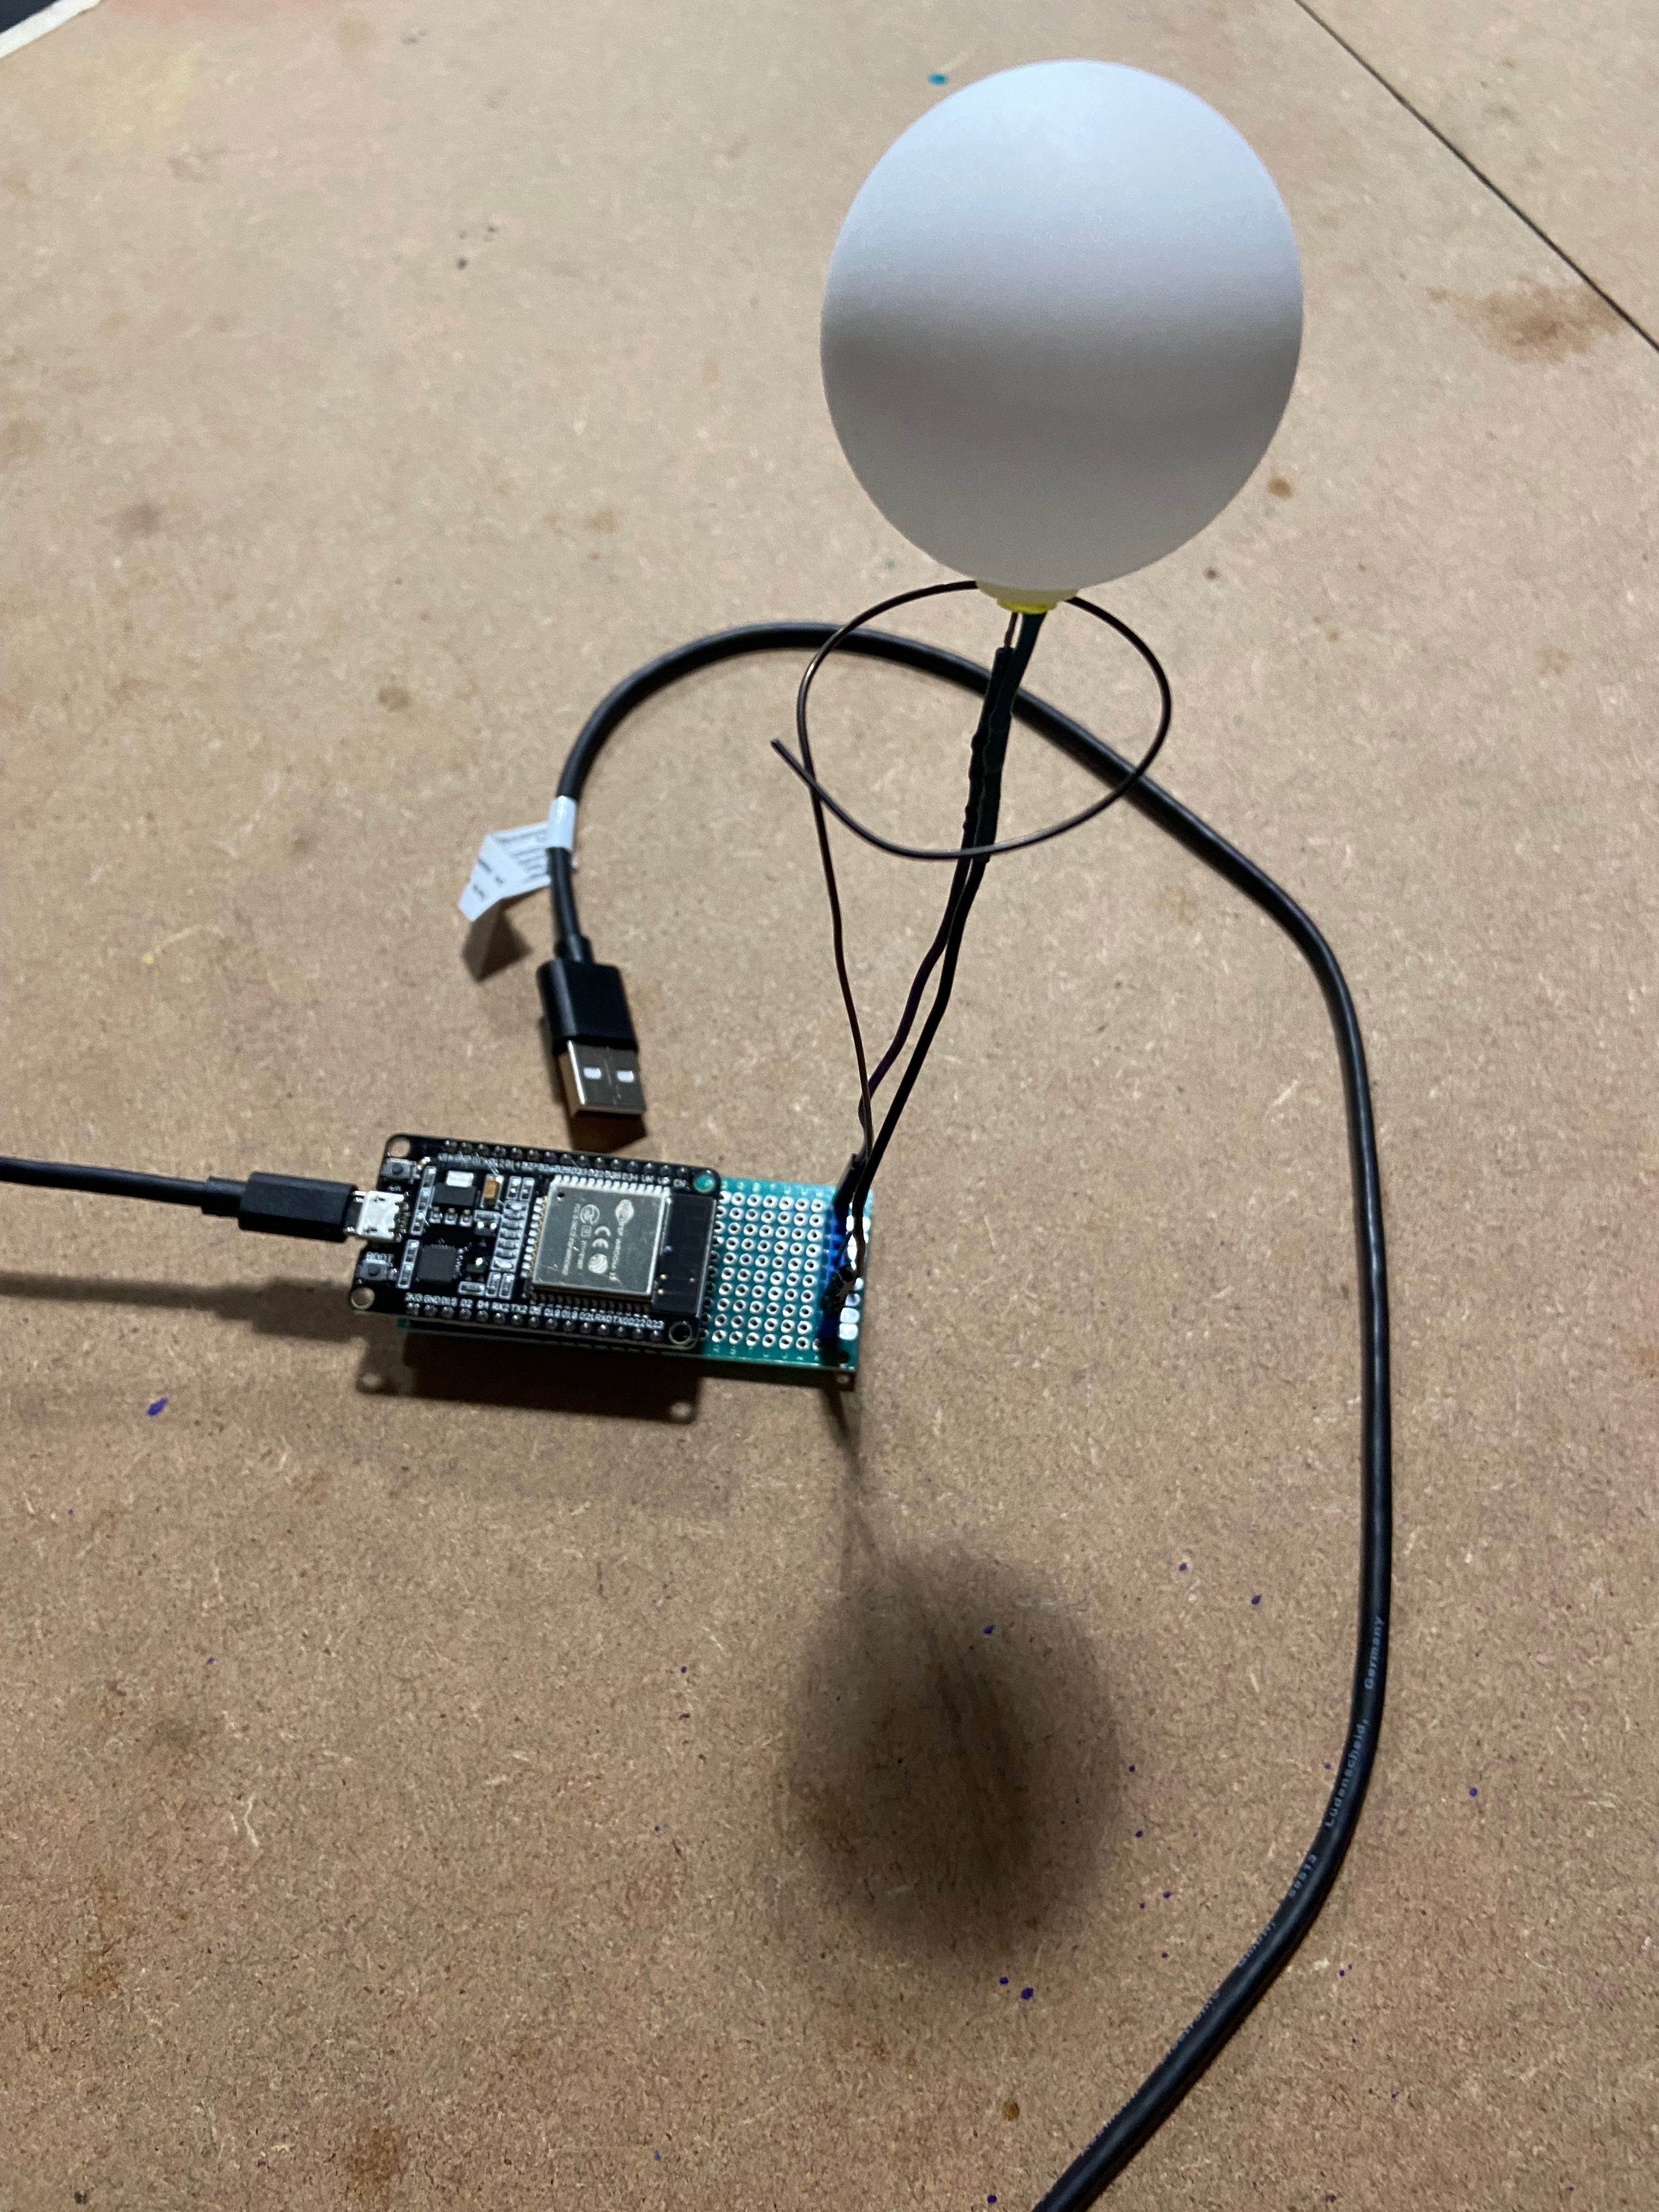
Your solar flare alert is now physically assembled and ready to connect to the WiFi.
Connecting to the WiFi
Power on the Solar Flare Alert. After a few seconds, the LED will begin blinking.
If the blinking stops after a few seconds, the device has successfully connected to a previously saved WiFi network.
If the LED continues blinking, open the WiFi settings on your phone or computer and connect to the access point named SolarFlareAlert-Setup.
Once connected, open a web browser and navigate to:
http://192.168.4.1Select your home WiFi network from the list and enter the password.
The device will reboot and attempt to join your network. When the LED turns solid green, the connection was successful.
You’re done. Reconnect your phone or computer to your normal WiFi. The Solar Flare Alert will now display the Sun’s current activity level.